How to Write a User Story in Jira (With Acceptance Criteria)
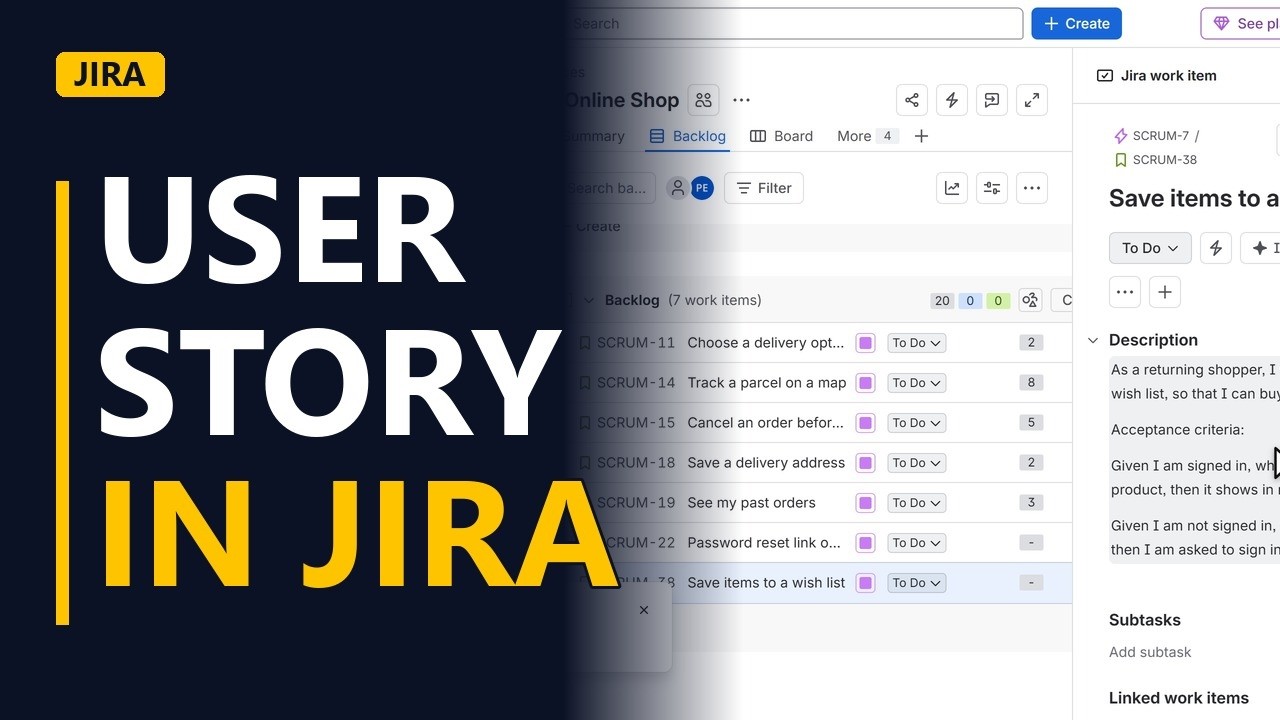
Write a user story in Jira the way business analysts do: the As a, I want, so that sentence, Given When Then acceptance criteria, and a parent epic. Shown step by step on a real Jira site.
Step by step
The story
- User story in Jira. A good user story tells the team who wants something, what they want, and why. Let me write one in Jira, with acceptance criteria the testers can use.
- Create. This is the backlog of our online shop. Every new story starts with the create button at the top.
- Pick Story. First, the work type. Click the type at the top of the window. Pick story, the one with the green bookmark.
Write it
- Short title. The summary is a short title the whole team will see on the board. Keep it to a few words, starting with a verb.
- As a, I want, so that. In the description, write the story itself. As a returning shopper, I want to save items to a wish list, so that I can buy them later.
- Acceptance criteria. Then the acceptance criteria. Use given, when, then. Given the starting point, when the user does something, then what they should see. Add one line for each rule. Here, what happens when the shopper is not signed in.
Link and create
- Parent epic. Every story belongs to an epic, a bigger piece of work. Click parent. A wish list is part of customer accounts, so pick that epic.
- Create. Check it once more, then click create.
- In the backlog. And there it is, at the bottom of the backlog. Click it to open the story.
- Ready for the team. The story, the acceptance criteria and the epic, all in one place, ready for the team to size and plan.
Recap
- Who, what, why. So, a short title starting with a verb. As a, I want, so that, in the description. Given, when, then, for every rule. And a parent epic. Subscribe for more Jira tips for business analysts.


