How to Add Records and Fields in Airtable (Requirements Tracker)
Add a new requirement to an Airtable requirements tracker: a record, its ID, type, MoSCoW priority and status, then a new single select field for the release. Shown on a real Airtable base for an online shop, on the free plan.
Step by step
The tracker
- Add a requirement. A stakeholder just asked for gift cards. Let me add that requirement to our Airtable tracker, with an ID, a type, a priority and a status, and then a new field for the release.
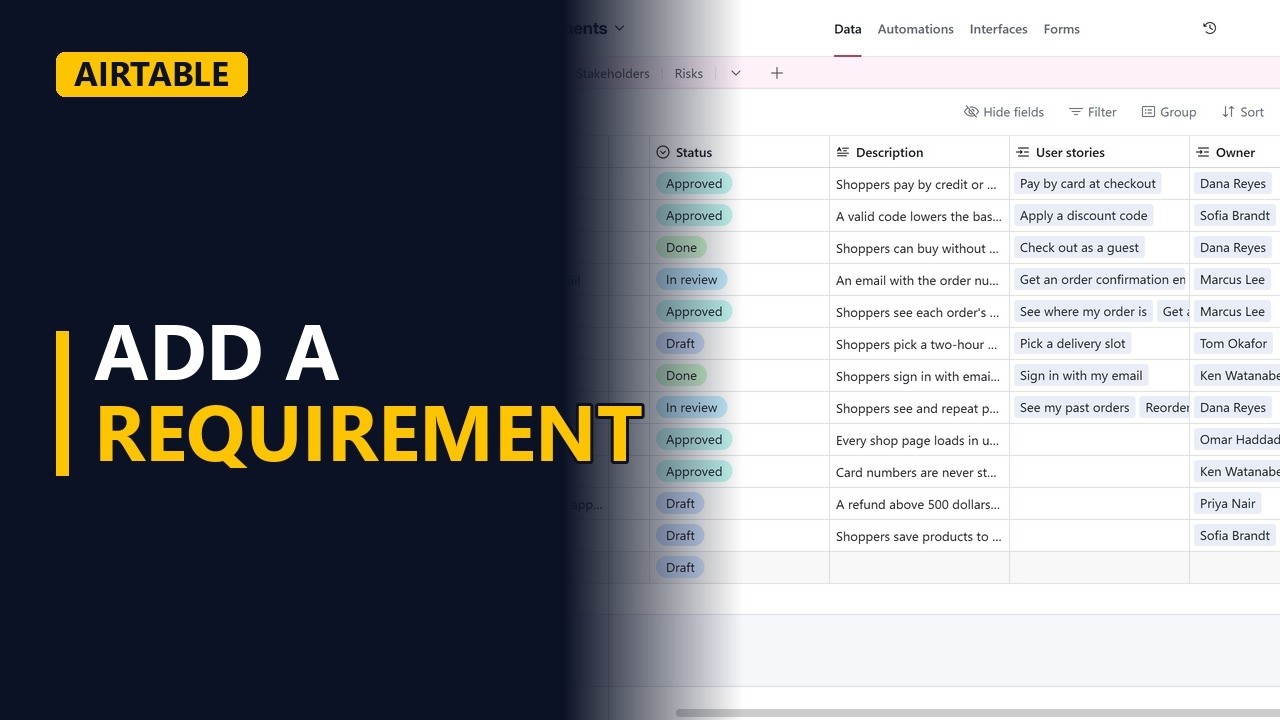
- One row, one requirement. This is the requirements table of our online shop. Every row is one requirement, and every column is a field, like priority.
Add the record
- New record. Click the plus under the last row to add a record, and type a short name for the requirement.
- Give it an ID. Give it the next ID, so everyone can talk about the same requirement.
- Type. Type is a single select field. Start typing, then pick functional from the list.
- MoSCoW priority. Priority uses MoSCoW: must have, should have, could have, or won't have. Gift cards are a should have.
- Status. It is new, so the status is draft until the stakeholders review it.
Add a field
- New field. Now a new field. Click the plus after the last column, pick single select, name it release, and add two options. The new column is there for every requirement. Gift cards can wait for release two.
Check it
- Expand the record. To see the whole requirement at once, click the expand arrow at the start of its row. Every field is here, on one card you can share with the team. Press escape to close it.
Recap
- Records and fields. So, a record is one requirement and a field is one thing you track about it. Use single select fields for type, priority and status, so everyone picks from the same list. Subscribe for more Airtable tips for business analysts.